# Traffic Interception and SSL Pinning
## 📌Why is HTTPS (more) secure?
### **🔒The Role of Encryption**
**Encryption** is converting data into a secure format that can only be read by authorized parties. One of the most common encryption protocols used in secure communications is **TLS (Transport Layer Security).** This protocol ensures that data transmitted over networks is encrypted, protecting it from interception and tampering.
### **🔑Asymmetric vs. Symmetric Encryption**
* **Encryption falls into two main categories:**
* **Symmetric Encryption**
* Uses a **single key** for both encryption and decryption.
* Faster and more efficient but requires a secure key exchange.
* **Asymmetric Encryption**
* Uses a **pair of keys**:
* A **public key** for encryption.
* A **private key** for decryption.
* More secure for key exchange but slower than symmetric encryption.
> 💡 Both types are often combined in HTTPS: asymmetric encryption securely exchanges a symmetric key, which is then used for faster data encryption.
### 🔑**Diffie-Hellman Key Exchange**
* It is a cryptographic protocol that allows two parties to securely share a **secret key** over an insecure channel (like the Internet). This secret key can later be used for encrypted communication.
* **How It Works**
* **Both (say Alice and Bob) agree on two public numbers:**
* A large prime number `p`
* A base number `g`
* **Each picks a secret number:**
* Alice picks `a` (keeps it secret)
* Bob picks `b` (keeps it secret)
* **They exchange calculated values:**
* Alice sends `A = g^a mod p` to Bob
* Bob sends `B = g^b mod p` to Alice
* **They both calculate the same secret key:**
* Alice calculates `Secret = B^a mod p`
* Bob calculates `Secret = A^b mod p`
* **Now, they both have the same secret key 🔒**
* They can use it to encrypt their messages securely.
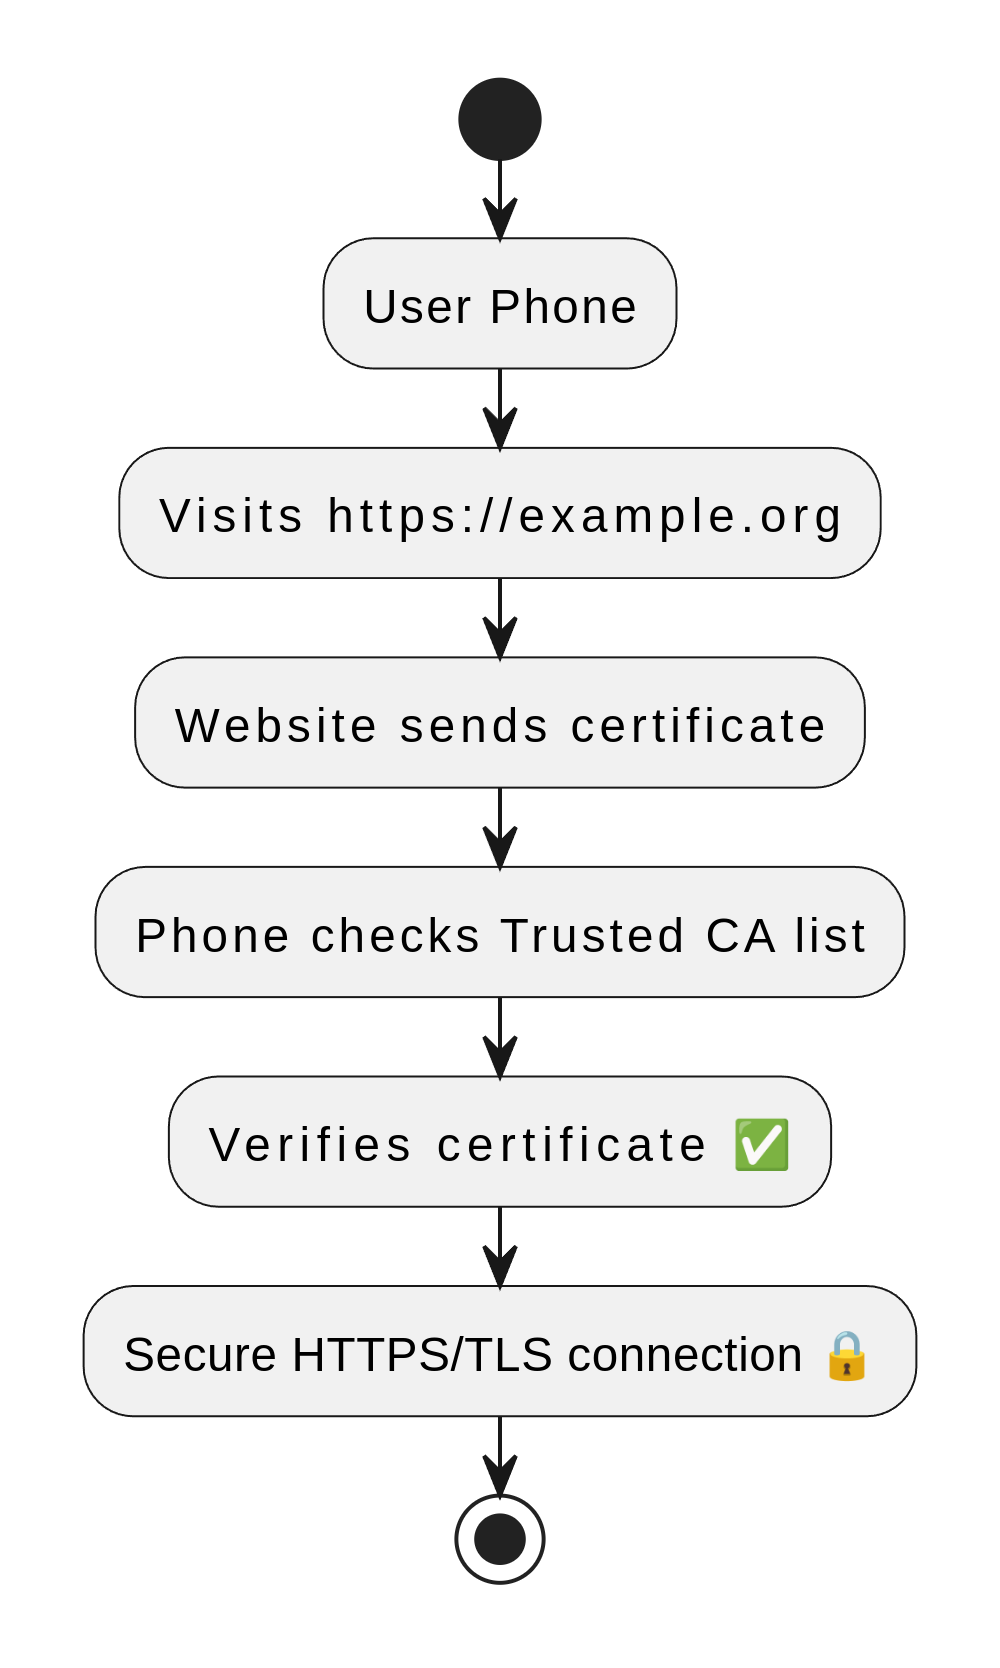
### 🔗 **How HTTPS Works**
1. **User Visits a Website**
* The user accesses a website using a secure URL, such as **`https://example.org`**, from their smartphone.
2. **The Website Presents a Certificate**
* The website responds by sending its **SSL/TLS certificate**.
* This certificate is issued by a **Certificate Authority (CA)** (e.g., Google Trust Services, DigiCert, Let's Encrypt).
* The certificate contains:
* The website’s domain name (`example.org`).
* The website’s **public key**.
* A **digital signature** from the CA to verify its authenticity.
3. **The User’s Phone Verifies the Certificate**
* The smartphone checks if the certificate was issued by a **trusted CA** (pre-stored in its operating system).
* Verification steps include:
1. Finding the CA’s **public key** in the trusted CA store.
2. Using the CA’s public key to verify the **digital signature**.
3. Ensuring the certificate is **valid** (not expired, revoked, or altered).
4. **Establishing a Secure Connection**
* If all checks pass, the browser establishes an **encrypted connection** using **TLS (Transport Layer Security)**.
* The user can now securely **send and receive data** without the risk of eavesdropping or tampering.
### ⚠️ The Problem
It’s very common for developers to implement communication over HTTPs, but not in a proper way. This improper implementation is reduced to replacing the protocol name in the URL from ***http*** to ***https*** and this doesn’t guarantee full security if not configured correctly. While HTTPS enables TLS/SSL encryption, **many apps still trust all certificates by default**, including self-signed or untrusted ones. This vulnerability allows attackers to present fake certificates and intercept encrypted traffic through Man-in-the-Middle (MITM) attacks, especially on insecure networks like public Wi-Fi.
### ⚠️ **MITM Attacks (Man-in-the-Middle)**
A **Man-in-the-Middle (MITM) attack** happens when an attacker intercepts communication between two parties without their knowledge. Common vulnerabilities include:
* Weak key exchange protocols.
* Expired or invalid certificates.
* Insecure connections (HTTP instead of HTTPS).
### 🚩**How Could an Attacker Intercept HTTPS Traffic?**
Breaking modern encryption is difficult, so attackers focus on tricking devices instead. Common methods include:
* **Installing a Malicious Certificate**
* Attackers install a fake certificate on the victim’s device, tricking it into trusting the attacker as a valid authority.
* **Using Tools Like Burp Suite**
* Attackers use Burp Suite for testing with permission. Attackers would need to install a fake certificate to use it in a harmful way, often by tricking the user or taking advantage of security weaknesses.
### 🛡️ **Solution**
Developers use defense mechanisms to prevent attackers from performing malicious actions. One important task is verifying whether the app is connected to a legitimate system or a fake one. This can be done using two main approaches:
1. **Verifying the Certificate Signature**
* The app checks the **digital signature** on the server’s certificate.
* Faking a valid signature is extremely difficult because it requires access to the private key of a trusted Certificate Authority (CA).
2. **Certificate Pinning**
* The developer embeds trusted certificates directly into the app.
* The app will only accept connections from servers with those **specific certificates**, even if a valid certificate is presented from a different trusted CA.
* This method prevents attackers from using a valid but unauthorized certificate, offering stronger protection against **MITM** attacks.
### 📜 What Is **Certificate Pinning?**
**Certificate Pinning** is a security technique where an app is programmed to trust only specific certificates or public keys. Even if a valid certificate from a trusted CA is presented, the app will reject it if it doesn’t match the pinned certificate.
### **📍3 Ways to Implement Certificate Pinning on Android**
1. **The old-school way - TrustManager**
* It is a component responsible for validating any data coming to the Android app.
* How to implement pinning using this component:
* The developer adds the certificate to the app.
* The developer uses `TrustManager` to perform a boolean check (comparing the incoming certificate with the stored certificate).
2. **OkHttp and CertificatePinner**
* **OkHttp** by Square is a popular HTTP client for Java and Android, often used with **Retrofit** for handling **REST** communication.
* It simplifies **certificate pinning** by allowing developers to create a `CertificatePinner` instance with specific fingerprints, which are usually hardcoded into the app.
3. **Something fresh - Network Security Configuration (NSC)**
* Android offers a convenient tool called **NSC**, available since Android 7.0, to manage network security settings using XML files.
* With NSC, developers can define secure communication rules, including **certificate pinning**.
* To enable NSC, you need to link a configuration file to the app’s `Manifest` using the `networkSecurityConfig` attribute in the `` tag.
* The configuration file should be placed at:
```sql
res/xml/network_security_config.xml
```
> **All these methods pin the certificates in the Android app and compare the incoming certificate with the stored one.**
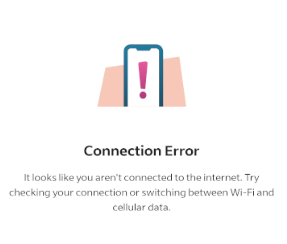
### ⚠️ Indications for SSL Pinning
* **Connection errors** ⇒ Occurs when the app fails to establish a secure connection due to mismatched or untrusted certificates.
* **TLS negotiation failures** ⇒ Happen when the handshake between the client and server cannot be completed, often due to incorrect certificate pinning settings.
* **Presence of `network_security_config.xml`**
* If you find a file named **`network_security_config.xml`**, it indicates the app uses [**NSC**](#id-3-ways-how-to-implement-certificate-pinning-on-android) for SSL pinning.
* **Code Analysis**
* Search in tools like **Jadx** for libraries such as **OkHttp** or custom implementations of SSL pinning.
* Look for methods or configurations related to certificate pinning or custom **trust managers**.
### **⚔️** Bypass Certificate Pinning
Attackers attempting to bypass certificate pinning often use **reverse engineering** to weaken an app’s defenses.
* **Decompiling the App**
* Decompile the app to examine how certificate pinning is implemented.
* **Code Analysis & Overriding Checks**
* Try to override or disable the pinning validation logic by analyzing the app's code.
* [Patch the application and replace trusted certificates with the values from our burp certificate.](#patch-app-with-trusted-certificates)
* **Using Frida for Method Hooking**
* Frida, a dynamic instrumentation toolkit, is used to hook into the method responsible for certificate validation and bypass the checks in real-time.
### **📍Bypassing Pinning in Flutter Apps**
* Flutter apps often use libraries that are unaware of proxy interception.
* **Attacker’s Strategy:**
1. **Patch the App:** Use the [**reflutter**](https://ayoubnajim.medium.com/bypass-ssl-pinning-for-flutter-apps-using-reflutter-framework-f77b858919b7) framework to modify the app so it recognizes proxies.
```bash
reflutter apk_name.apk
```
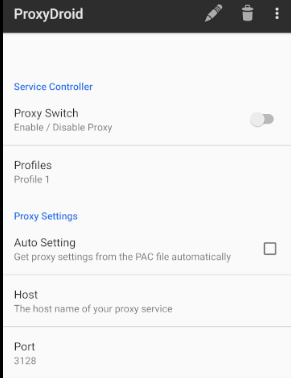
2. Use **ProxyDroid** app to force network traffic through a specified proxy by setting the host and port. Then, use **Frida** to hook into specific methods and bypass certificate validation.
This setup enforces proxy interception by altering socket-level configurations.
This setup enforces proxy interception by altering socket-level configurations.
### **📍**Patch App with Trusted Certificates
* We will focus on the most common library, **OkHttp**. If you can patch this one, you will also be able to patch other existing libraries, as the process is always the same.
* **Steps to patch the OKHTTP Library**
1. **Extract the SHA256 Hash from Burp's Certificate**
* Convert the Burp certificate to a **public key** and generate its hash using OpenSSL:
```bash
openssl x509 -inform der -in burp.der -pubkey -noout > burp_pub_key.pem
cat burp_pub_key.pem | openssl rsa -pubin -outform der | openssl dgst -sha256 -binary | openssl enc -base64
```
* **Result:** A SHA256 hash (e.g., `G5R02srVnsgqC01Rsd2QrpBEKLXvCcXB88T5jR2ll0A=`) to use in the app.
2. **Replace the Public Key Hash in the App**
* Identify the existing hash: Search for keywords like:
* `sha256/`
* `CertificatePinner`
* Decompile the app.
* Edit the SMALI file: Replace the original certificate hash with the Burp certificate hash
```bash
const-string v2, "sha256/OriginalHashHere"
const-string v2, "sha256/G5R02srVnsgqC01Rsd2QrpBEKLXvCcXB88T5jR2ll0A="
```
3. **Configure Trust Anchors**
* Edit or create the `network_security_config.xml` file:
```xml
example.com
```
* Link the file in the app’s `AndroidManifest.xml`:
```xml
android:networkSecurityConfig="@xml/network_security_config"
```
4. **Rebuild and Inspect Traffic**
* **Steps to Patch the whole Certificate**
1. **Decompile the APK**
2. **Find the Embedded Certificate**
* Look for certificate files (`.der`, `.crt`, or `public key`) inside the `assets/` directory.
3. **Convert Burp Certificate (if needed)**
* If the app uses `.der` format, convert the Burp certificate:
```bash
openssl x509 -in burp.crt -outform der -out burp.der
```
4. **Replace the Certificate**
* Overwrite the existing certificate (e.g., `server.der`) with the new `burp.der` certificate.
5. **Update Network Security Config (if necessary)**
* Check **`network_security_config.xml`** for any additional certificates and replace them too.
6. **Recompile the APK**
7. **Sign the APK**
8. **Install & Test**
***
### **📍Resources**
*
*
***
***